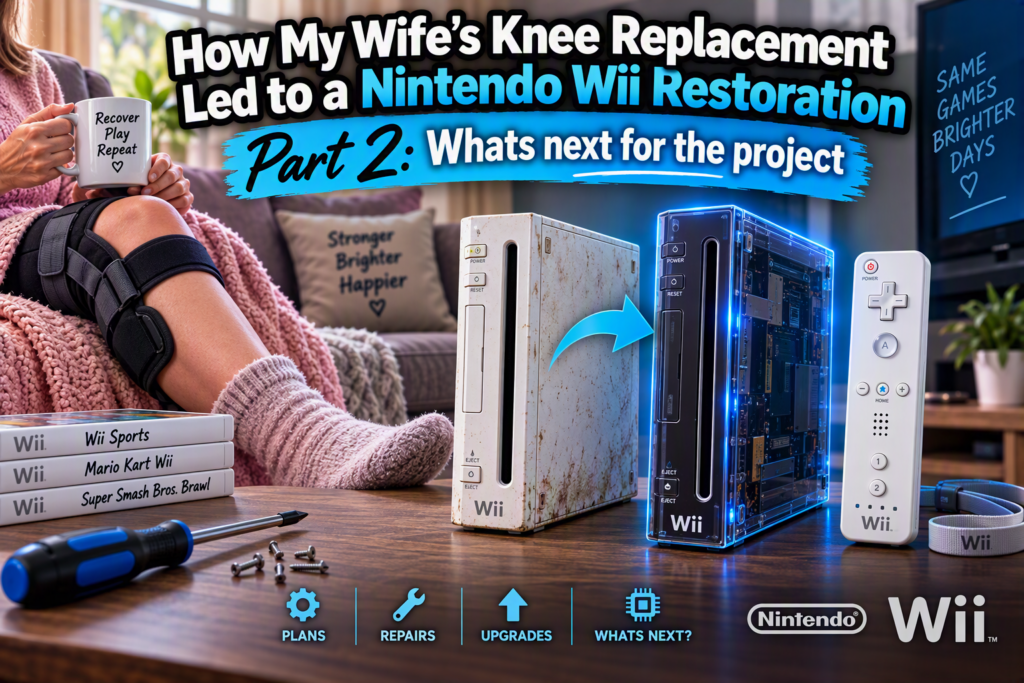
What began as an unexpected Wii restoration project, inspired by my wife’s recovery journey, is still very much a work in progress. In this second instalment of the series, I’ll be looking at the plans I have for the console, the upgrades and modifications I’m considering, and the steps I’ll take to bring this ageing Nintendo Wii back to its former glory.
So, what exactly am I starting with?
This is a standard white Nintendo Wii, and it’s certainly showing its age. The outer shell has accumulated years of wear and tear, with plenty of scratches, scuffs, and grime. The hinged covers that conceal the GameCube controller ports are also loose and beginning to detach, adding to the console’s tired appearance.
Unfortunately, the cosmetic condition isn’t the only issue. The disc drive has already shown signs of unreliability and occasionally struggles to behave as it should. Before this Wii can be considered fully functional, the drive will need some attention as well.
With both cosmetic and mechanical problems to address, there are several possible paths I could take. Do I restore the original shell and repair the existing components, or do I take the opportunity to rebuild the console into something a little more unique?
For this project, I’ve decided to go down the latter route. The original case will be replaced with an aftermarket clear smoked-effect shell, giving the Wii a fresh new look while still allowing some of the internal hardware to be seen.
The disc drive will also be replaced to ensure reliable operation. However, the original drive won’t be going in the bin. Instead, I’ll be keeping it aside as a future repair project, giving me the opportunity to investigate and hopefully restore it at a later date.
One hardware modification I could undertake is fitting an internal HDMI conversion kit, allowing the Wii to output directly to HDMI. For now, though, I’m going to keep things simple and use a Mcbazel Wii-to-HDMI adapter instead. Despite the marketing claims of Full HD 1080p output, it’s important to remember that the adapter cannot magically increase the Wii’s native resolution. That said, in my experience it does provide a cleaner and sharper image when connected to a modern television, and at under £5 from Amazon, it’s an inexpensive upgrade worth considering.
Finally, I plan to soft-mod, or “jailbreak”, the Wii so that I can run backup copies of games that I already own. I won’t be covering the process in detail within this series, as there are already several excellent guides available online that explain the procedure far better than I could here. Instead, I’ll focus on how the modification fits into the overall restoration and what it brings to the finished system.
The goal isn’t simply to repair this Wii. It’s to transform a well-used console into something that looks better, performs better, and offers a few modern conveniences, all while retaining the charm that made the Nintendo Wii such a memorable part of gaming history.
Before any of that can happen, I’ll need to gather the parts and accessories required to complete the restoration. With the upgrades, repairs, and modifications now planned out, here’s my shopping list of everything needed to bring this project to life.
Bill of materials
| Item | Price |
|---|---|
| 1 x Nintendo WII SMOKE GREY Replacement Clear Shell | £26.70 |
| 1 x Disk Drive For Nintendo Wii Complete DVD CD Laser Lens Module Sensor Motor | £22.99 |
| 1 x Pack Wii Rubber Feet Replacement for Nintendo Silicone Set Black | £3.30 |
| 1 x Mcbazel Wii to HDMI Adapter | £4.99 |
| 1 x PNY Performance Plus microSDHC card 32GB Class 10 * | £12.99 |
| 1 x UGREEN 2.5 Inch Hard Drive Enclosure, 5Gbps USB 3.0 SSD Enclosure * | £7.46 |
| 1 x Integral V Series S 240GB 2.5″ SATA 3 Internal Solid State Drive * | £36.95 |
| Total Cost for Project | £115.38 |
Items marked with an asterisk * are optional. Although I already had these components in my parts bins, they have been included in the bill of materials to provide a more accurate representation of the project’s overall cost.
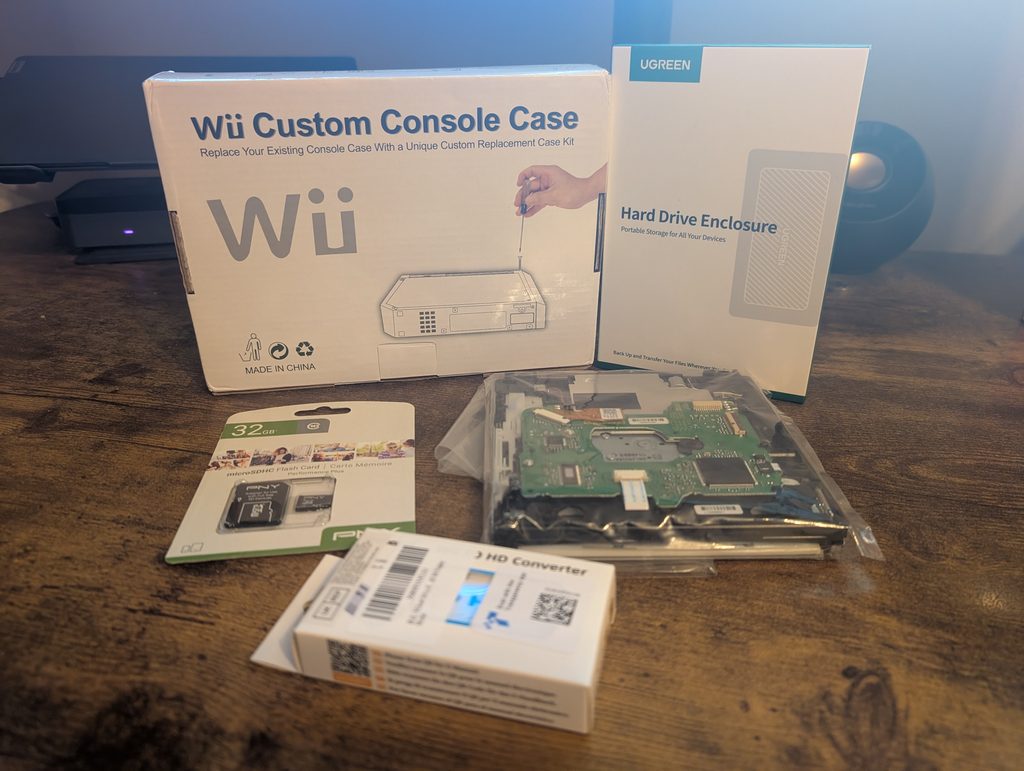
At the time of writing, a working Nintendo Wii can typically be picked up in the UK for between £25 and £60, depending on its condition and any accessories included. Given the cosmetic wear and unreliable disc drive, this particular console sits towards the lower end of that range, making it an ideal restoration candidate.
Of course, restoration projects are rarely the cheapest option. By the time I’ve purchased the replacement shell, sourced a replacement disc drive, added a few upgrades, and covered various other parts and accessories, I’ll have invested £57.98 into bringing this Wii back to life. Financially, it makes little sense when working consoles are still relatively inexpensive, but that’s not really the point. For me, the enjoyment comes from the restoration process itself, transforming a tired and neglected console into something unique while learning a few things along the way.
With all the required hardware finally in hand, it’s time to move on to the restoration itself. In the next post, I’ll walk through the Wii teardown process step by step.
Pingback: How My Wife’s Knee Replacement Led to a Nintendo Wii Restoration – retro136web