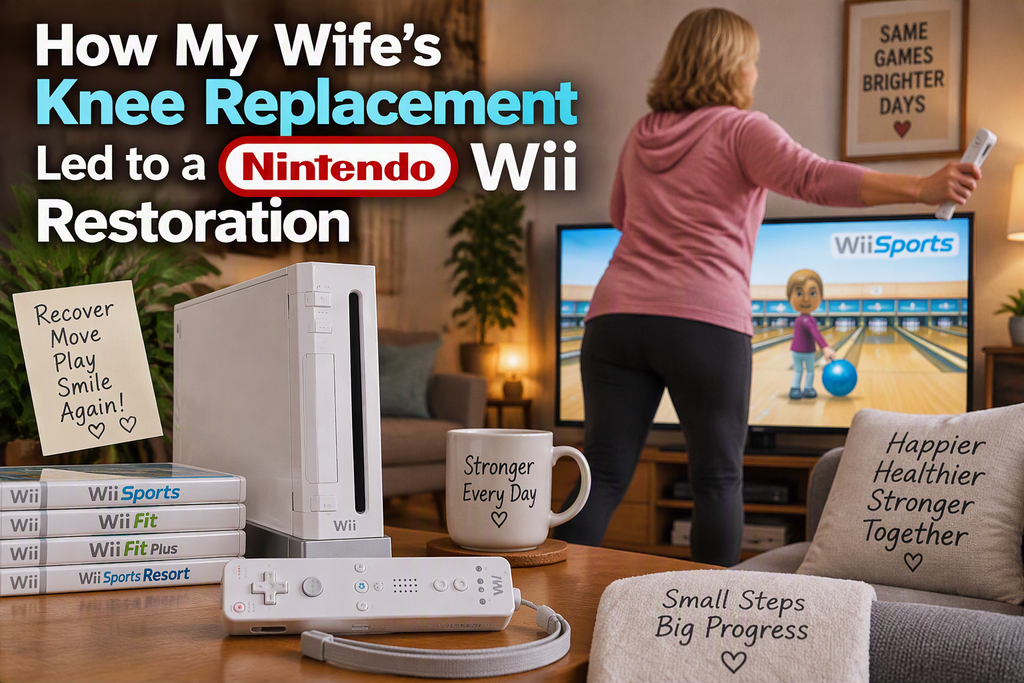
While my wife has been recovering from a total knee replacement, I’ve been looking for ways to help her regain mobility without every exercise feeling like, well, exercise.
Physiotherapy is important, but there are only so many repetitions of bending and stretching your knee before enthusiasm begins to wane. I wanted to find something that would encourage movement while being a little more enjoyable at the same time.
That got me thinking about the Nintendo Wii.
For many people, the Wii was their first introduction to motion-controlled gaming. Whether it was bowling, tennis, or golf, the console had a remarkable ability to get people moving without drawing too much attention to the fact. It seemed like a good way to add a bit of variety to the recovery process.
With that in mind, I headed to my retro gaming collection and dug out one of my old Wii consoles.
As it happens, I own two.
One works perfectly.
The other has a faulty disc drive.
At this point, the sensible course of action would probably have been to use the working console and get on with the original plan. Instead, I found myself looking over the non-working one and wondering what it would take to bring it back into service.
Some projects seem to choose themselves.
Before long, what had started as a search for a rehabilitation aid had become a restoration project.
One of the things that struck me while revisiting the Wii was just how active its community remains. Despite being a console from another era, there are still enthusiasts finding new ways to preserve, restore, and extend the life of the hardware. In many respects, the Wii has aged remarkably well.
I also discovered that a great deal has changed since I last spent any serious time with the platform. Many of the modifications that once required specialised hardware can now be achieved entirely through software, supported by well-maintained community resources and extensive documentation.
I won’t be writing a guide on modifying a Wii. The information evolves over time, and there are already dedicated resources maintained by people whose sole focus is keeping those instructions accurate and up to date. They’re far better qualified than I am to provide guidance in that area.
What I will be covering, however, is the restoration itself.
This particular Wii has clearly had an active life. It’s collected its fair share of marks and scuffs over the years and has the appearance of a console that has been enjoyed rather than carefully preserved. Those are often the most satisfying projects. There’s something rewarding about taking a piece of ageing hardware that has seen better days and giving it a second chance.
So while my original intention was simply to find a fun way to support my wife’s recovery, I’ve ended up with another restoration project on the workbench.
Somehow that doesn’t feel entirely surprising.
Over the next few posts, I’ll be documenting the process of cleaning, restoring, and preparing this Wii for its next chapter. With a bit of luck, it will soon be helping with rehabilitation exercises while also proving that there’s still plenty of life left in Nintendo’s little white console.
And if nothing else, it’s a good excuse to revisit a machine that spent far too long sitting on a shelf.
If you’d like to follow the next stage of this restoration journey, click the link below to continue to Part 2, where I outline my plans, upgrades, and modifications for the Wii project.
How My Wife’s Knee Replacement Led to a Nintendo Wii Restoration Part 2: Whats next for the project